
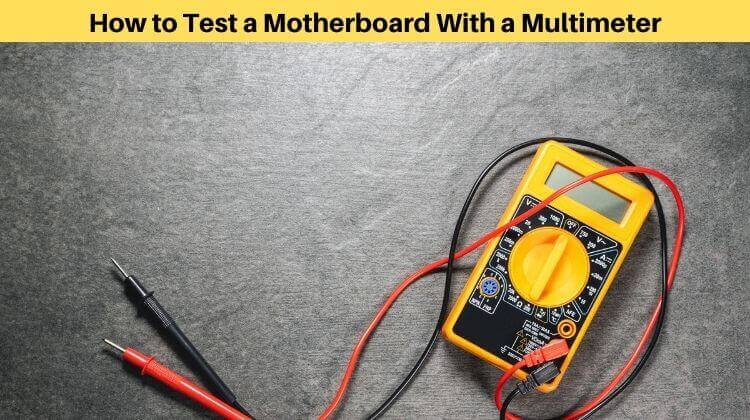
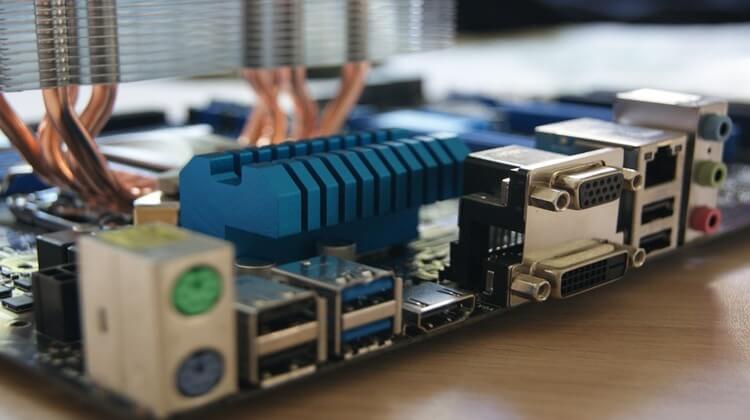
A motherboard is the fundamental component of any computing system which holds various other vital parts of a system, including memory, graphics cards, SSDs, Hard drives, and most importantly, the CPU. Therefore, knowing how to test a motherboard with a multimeter is important to determine if your motherboard is faulty when troubleshooting computer issues.
Using a multimeter for motherboard multimeter testing allows you to check for problems with power delivery, electrical shorts, and continuity that may prevent a motherboard from functioning properly. This guide will cover how to test the motherboard through various multimeter tests even if you don’t have a CPU installed. Learning how to test a motherboard without a CPU using a digital multimeter can help diagnose potential faults before concluding a motherboard needs to be replaced. Read on to learn the basics of multimeter motherboard testing.
How To Test a Motherboard With a Multimeter
For Short Circuit

Also Read: ASUS Vs MSI
First, we will discuss the common problem of the motherboard, which is, without any doubt, a short circuit. This major issue can happen with your system’s motherboard when it gets an excessive amount of current. Following are the steps you can perform to test the motherboard with a multimeter for the short circuit:
- First of all, switch off your computer system and unplug it
- After that, please wait for a few moments to make sure that the internal parts of the PC are excellent and have no current in them
- Now it’s time to bring out your multimeter and make sure that it is at its lowest setting, which is 200 ohms
- To take it to zero, you have to join ends of wire at a time; after that, you can touch to test whether it is zero or not
- Then open the cover of your PC and see the motherboard also peel off the ATX connector
- After removing the covering, you will find out two wires, red and black. You will see that red wire is passing through the PSU’s AC base pin, and the black wire is on the chassis
- Moreover, the black lead pins must be on the DC connector, and even at this stage, the reading should be zero
- Momentarily, you should make sure that the black lead remains on the top
- After that, you can use the red wire to examine all the same color wires in that checkup the reading of 50 or more is good; anything below that shows there is a problem
- If you haven’t found any issue there, Then remove the motherboard completely from the system.
- Many of us haven’t any technical knowledge about the ATX 20 pins in the motherboard, so it is good to use a chart that has info regarding these pins
- Further, you have to manipulate the red lead again to test the GND pins
- The readings 3, 5, 7, 13, 15, 16, and 17 pins have to be zero
- If the multimeter is displaying another reading except 0, then the motherboard is short-circuited.
Related: How To Clean A Motherboard?
Steps To Check DC Voltage For Motherboard Testing
There are total three steps that you can follow to test the direct current (DC) voltage of your motherboard with a multimeter.
First Step:
Ensure that the twenty-pin ATX connector is not removed and your PC is connected to the AC power supply. Now, set the multimeter to twenty volts direct current. After that, use the black multimeter experiment. Further, bring the black lead in contact with 15, 16, and 17 (GND pins).
2nd Step:
In this step, you can use the red lead to test the coexisting pins:
- Pin 9 ( Purple, PSU ):
When measuring the readings of this pin, check whether you get a 5 volts value or not. If the value is not 5 volts, then there is a fault in PSU. - Pin 14 ( Green, PS On ):
Unlike GND pin nine, this pin has flexibility in the measured reading. Moreover, if you get the reading between 3 to 5 volts, nothing to worry about. But if you haven’t seen this reading on the multimeter, then there is a fault in the power switch on.
3rd Step:
This is the last step to conclude whether your motherboard’s PSU has an issue or not. For this, apply the red lead test to GND pin 8 (Gray, Power OK). Moreover, if you get the value of 2.5 volts on the multimeter display, then it is okay to start the PC. After that, press restart in this way, the Power OK reading will drop to zero, and then after a while, it comes to normal.
You May Also Like: Best Motherboards Under $100
Can I Fix a Dead Motherboard?
After checking the motherboard with a multimeter, many guys find out that there is no fault in the power supply, nor is the motherboard short-circuited. Instead of their two common problems, their motherboard is dead.
Therefore, these people question if a dead motherboard can be fixed; the answer is it is very tricky as most of the latest motherboards have 7 to 8 layers of silicone, which makes the configuration of the motherboard.

From this, you can sense that if there is a problem in the inner layer, then fixing it up can be very challenging and takes a lot of effort and time. That’s why it is not wise to fix the complex problem in the motherboard by yourself because chances of success are significantly less.

Also Read: Best B450 Motherboards
Frequently Asked Questions
Can You Test Motherboard Without CPU?
Testing a motherboard without a CPU could be possible, but you need to have a particular set of tools and equipment. You do not need a CPU to test if your motherboard is working (most of the time). You can try testing it by using the 24-pin power connector, or you can use a PSU tester. So, it can be accomplished on those motherboards with built-in LED lights.
Why Is There a Red Light On My Motherboard?
Several things can cause a red light on your motherboard. The most common is having a short circuit somewhere in your power supply. A faulty power supply may cause it, or it could be that the short circuit was caused by an attempt to connect the wrong type of power supply to your motherboard. Moreover, this problem can also occur if you have used incompatible hardware within your computer’s case.
What Can a Faulty Motherboard Do?
Due to the complexity of today’s motherboards, they may sometimes malfunction. A corrupt motherboard can result in one or more of the following symptoms to occur:
- The computer will not turn on
- PC repeatedly restarts after a brief period of operation
- Random lockups or freezes during everyday use
- Unusual beep codes during start-up
- Overheating due to component failure (i.e., processor)
- Corruption or loss of data and settings on the hard drive
- Inability to boot into Windows or another operating system
Conclusion
Hopefully, this article has provided useful information on how to test a motherboard with a multimeter. Being able to perform basic motherboard multimeter testing yourself can save time and money compared to taking your PC to a repair shop. The multimeter tests covered allow you to check for common motherboard faults related to power delivery, shorts, and electrical connectivity.
While following these instructions on how to test the motherboard, take precautions for your safety when dealing with computer components and electricity. Additionally, these multimeter testing methods can be performed even if you don’t have a CPU installed, as they show you how to test the motherboard without a CPU. However, if you still can’t determine the cause of your motherboard issues after thorough multimeter testing, you may need to seek help from a qualified technician for more complex troubleshooting and repairs.
With some fundamental knowledge of motherboard testing using a digital multimeter, you can quickly diagnose many common problems. This allows you to get your computer back up and running yourself or determine if your motherboard needs to be replaced.
Related Articles:
Best Motherboards For i9 10900k Of 2022 | 10th/11th Gen
Intel’s i9 10900k is a high-end processor that gives excellent performance when paired with a…
Best Motherboard For Ryzen 9 3950x | X570 – Zen2 | Wi-Fi | Guide
The motherboard is the backbone that links all of the computer’s components and helps them…
Best Motherboard For Ryzen 9 3900x 2022 [Tried & Tested]
The introduction of the Ryzen series CPU has made the field immensely revolutionary with 3rd…
Best Motherboards For Ryzen 7 3700x Builds [AMD, X570 Chipsets]
When you have any plans of setting up a Ryzen 7 3700x system, the most…

Best Motherboard for Ryzen 7 2700x | High Performance | Buyer’s Guide |
There is no denying that a motherboard for the processor is not an easy choice…
Best Motherboard For Ryzen 5 3600 [ 10 Top Picks & Guide]
The Ryzen 5 3600 has become one of the sought processors in the world. This…